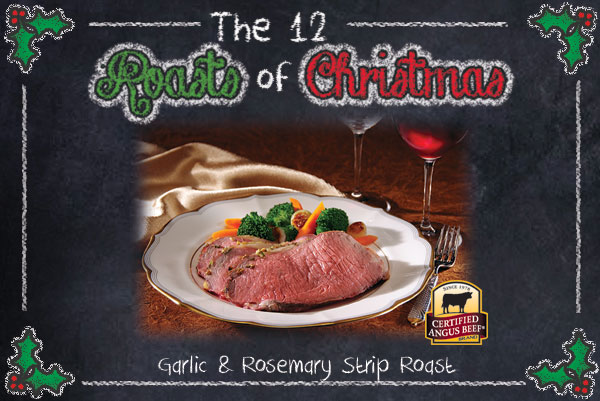
Here’s the next recipe in our 12 roasts of Christmas blog series. Step into the kitchen with Melissa Brewer, Certified Angus Beef ® brand Director of Public Relations.
Eating has always been one of my favorite things to do, but as anyone who knows me would share, cooking is not! So, you can imagine the hesitation I had when I was asked to join in the holiday fun, and blog about a roast. After a little elbowing from my colleagues and pure hysterics from my family, I set off on my first blogging venture to see just how “consumer friendly” our recipes truly are. The good news … I survived! And probably more importantly, so did the recipe and the roast!
I made Garlic & Rosemary Strip Roast. Click for a printable recipe.
I started by gathering all of the ingredients at the local grocery, refusing to use my typical direct “help-line” to our chefs. Ever wonder how many bulbs of garlic you need to get 6 cloves? I grabbed two, just in case! (So you don’t have to learn the hard way, there were about 12 cloves in the bulb).
And is it bad to use jarred minced garlic instead of fresh? I decided to go the easier route. (As I learned, jarred is also a solid choice). I wrapped up my shopping, feeling good and a little more confident that yes, I could conquer my roast!
Next came the hard part, interpreting the recipe so clearly written to deliver great taste. I started off strong, mixing my rub and carefully choosing the places to add “20” slits.
I wasn’t sure if all of the slits should go on top of the roast, so I added them on the top and bottom. Turns out, I could have just stuck to the top. I quickly mixed and added on the garlic-y rub before placing the roast in the refrigerator to rest overnight. I was a bit shocked — stage one of the recipe wasn’t bad at all!
I’d be lying if I said I wasn’t excited when I woke up the next morning to prove my culinary skill. I pulled out my ingredients and was pretty sure I knew how to overcome the next hard part — peeling the garlic! (I wasn’t kidding about being a novice cook!)
I remembered a tip from our chefs and was ready to give it a whirl: Soak your garlic in water so the skin will more easily peel off. Well wouldn’t you know, that actually works!
Now to the rub (don’t forget to wipe the roast off first!) and into a hot, hot oven for a nice outer crisp. In 15 minutes flat, the roast looked and smelled delicious. And then came the fun part – decorating it with garlic and little rosemary studs.
(Note: this is where I decided the slits on the bottom of the roast were probably not needed.) It was beautiful … I couldn’t wait to show my family and friends! Back into the oven to cook slow and low. I adjusted my time to accommodate my larger roast — about 5.5 lbs — and finished cooking in about an hour and a half. I opened the oven with such delight, knowing a beautiful roast was about to be served. And let’s be real, a little bragging would be served up too!
Sweet victory and delicious to boot! Looks like I’ve discovered my New Year’s resolution … a few more roasts, a couple new recipes and a year of enjoying them all with my family and friends.
Warm holiday wishes, and happy roasting!


I am tasked with roasting a prime rib roast (3 bones), and bringing it to my families dinner party. My goal is to undercook the roast and finish at the host home. We would like the roast to be medium rare.
Any suggestions?
Ruth
Hi Ruth! Much depends on your travel time. If the location is nearby you could cook your roast to just under medium-rare, and let it rest in foil as you travel to the destination. It should be nearly perfect and ready to eat upon your arrival. Putting it back in the host’s oven is a great idea to heat and re-crisp the outside. If you have a longer commute you may want to cook at home to 110-120 degrees or so, then finish bringing to medium-rare temperature when you arrive. In both cases use an instant-read meat thermometer. Know that the roast will stay warm and may continue to heat as you travel, so using a meat thermometer is imperative to reach the perfect temperature. Good luck and a very merry Christmas to you and yours!